카카오 로그인보다 더 말썽일가 싶었는데 구글로그인도 생각보다 말썽이다
1. 기초설정
먼저 하기 링크에서 기초 환경세팅을 설정한다
React Native Firebase | React Native Firebase
Welcome to React Native Firebase! To get started, you must first setup a Firebase project and install the "app" module. React Native Firebase is the officially recommended collection of packages that brings React Native support for all Firebase services on
rnfirebase.io
2. 라이브러리 추가
https://github.com/react-native-google-signin/google-signin
GitHub - react-native-google-signin/google-signin: Google Sign-in for your React Native applications
Google Sign-in for your React Native applications. Contribute to react-native-google-signin/google-signin development by creating an account on GitHub.
github.com
yarn add @react-native-google-signin/google-signin라이브러리를 추가한다
3. 파이어베이스 설정
제일 중요한 내용이다. 이거 안해서 개고생함. 아주 간단한건데 생각보다 많은 사람들이 고통받았다.
구글로그인을 할거니 당연히 파이어베이스에 구글 로그인 할 거라고 설정을 해주어야 한다
콘솔에 들어가서 Authentication에 Sign-in method에 구글을 설정해주자

4. 안드로이드 설정
android/build.gradle에 들어가서 아래와 같이 추가해주자
buildscript {
    ext {
    	...
        googlePlayServicesAuthVersion = "19.2.0" // <--- use this version or newer
    }
...
    dependencies {
        classpath 'com.android.tools.build:gradle:4.2.1' // <--- use this version or newer
        classpath 'com.google.gms:google-services:4.3.10' // <--- use this version or newer
    }
...
allprojects {
    repositories {
        mavenLocal()
        google() // <--- make sure this is included
        jcenter()
        maven {
            // All of React Native (JS, Obj-C sources, Android binaries) is installed from npm
            url "$rootDir/../node_modules/react-native/android"
        }
    }
}
그리고 android/app/build.gradle에 아래를 추가해주자
dependencies {
	...
    implementation 'androidx.swiperefreshlayout:swiperefreshlayout:1.0.0' // <-- add this; newer versions should work too
}

apply plugin: 'com.google.gms.google-services' // <--- this should be the last line
다음으로 SHA-1을 만들어야 한다. 아래 커맨드를 입력해 signingReport를 만들어주자
cd android && ./gradlew signingReport그럼 아래처럼 Release와 Debug의 SHA-1 값이 나온다
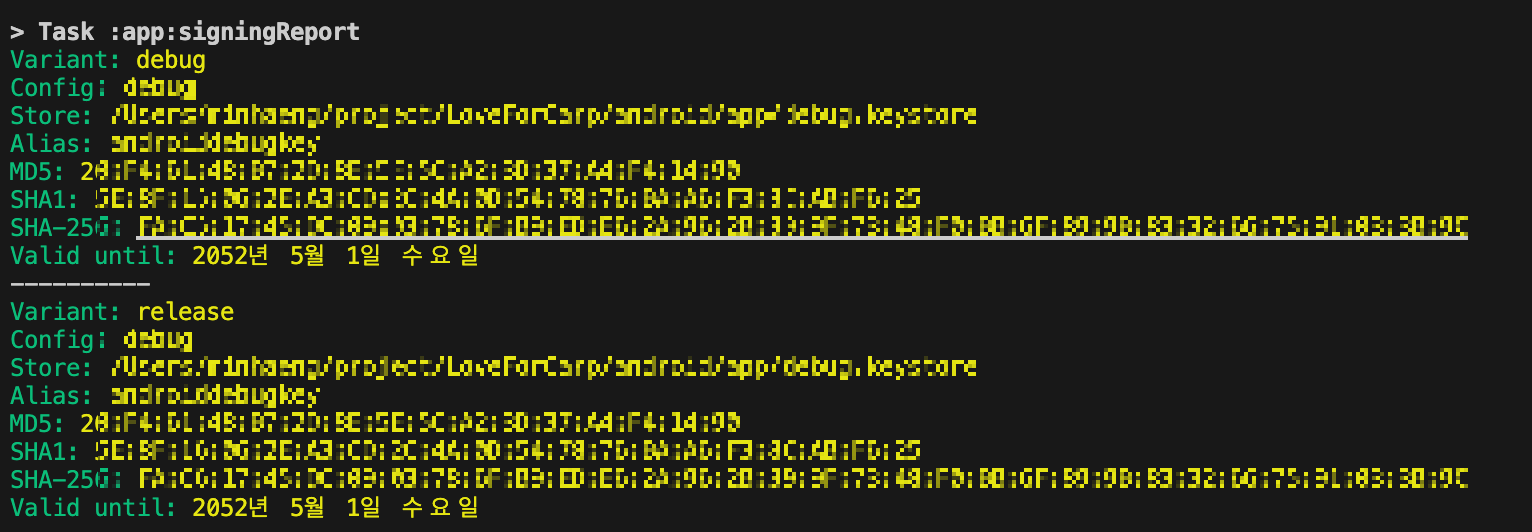
위의 SHA-1값을 복사해서 파이어베이스 콘솔의 프로젝트 설정에 들어간뒤 디지털 지문에 추가해준다

이후 google-services.json을 다시 다운받은 뒤 android/app 에다가 다시 저장해준다
이제 준비가 다 되었다. 아래의 예시코드를 사용하자.
여기서 중요한건 webClientId 라는 값인데, google-services.json에 들어가서 o-auth쪽을 살펴보면 값이 있다.
여기서 중요한건 type값이 3인 값을 가져와야 한다는점! 반드시 주의하자
import { GoogleSignin } from '@react-native-google-signin/google-signin';
import { Button } from 'react-native';
import auth from '@react-native-firebase/auth';

GoogleSignin.configure({
  webClientId: '',
});


function GoogleSignIn() {
  return (
    <Button
      title="Google Sign-In"
      onPress={() => onGoogleButtonPress().then(() => console.log('Signed in with Google!'))}
    />
  );
}

async function onGoogleButtonPress() {
  // Check if your device supports Google Play
  await GoogleSignin.hasPlayServices({ showPlayServicesUpdateDialog: true });
  // Get the users ID token
  const { idToken } = await GoogleSignin.signIn();

  // Create a Google credential with the token
  const googleCredential = auth.GoogleAuthProvider.credential(idToken);

  // Sign-in the user with the credential
  return auth().signInWithCredential(googleCredential);
}'React Native' 카테고리의 다른 글
| React Native 카카오 로그인 + Firebase 연동 (0) | 2023.07.01 |
|---|---|
| StyleSheet.create를 사용하는 이유 (0) | 2023.01.27 |
| [RN] 리액트 네이티브 웹뷰 스와이프 제스처 enable하기 (0) | 2022.11.15 |
| [RN] 리액트 네이티브 카메라, 마이크 권한 얻기 (0) | 2022.11.15 |

댓글